 Renovating and decorating our new/old house, a cozy cape cod built in 1940. It won't happen overnight, so join me for the journey.


I found a pair of lamps that I loved, but they were quite expensive at $1200 for the pair. You can see what I was lusting after here. I ended up finding lamps in an unexpected place when I wasn't looking. I was at a thrift store shopping for coffee table books (second hand stores are a great place to find inexpensive hardcover books) when I came across a pair of large lamps with a great shape.


The ceramic base had a nice crackle finish but the color wasn't what I wanted. I was still thinking about the black and brass lamps. I brought them home thinking I could give them a makeover and if I didn't love them I was only out $6.
I spray painted them matte black, hand painted brass accents using a brushed metal craft paint, and topped them with lampshades from Target.

Isn't that how projects go? One thing turns into another.
Now that my lamps were in place (I'm thrilled with how they turned out!) it was time to replace the morrocan side table that lived on this side of the room. It was a few inches shorter than the card catalog we use as a side table on the other end of the sofa.

I love mix-matched tables, but if matching lamps sit on top, I prefer them to be a similar height. I found this one at Pottery Barn here. The style compliments the antique coffee table and the size is just right.

The back door, basket of shoes, and a stool are on this same wall so space is limited on this side.

Let's talk about chairs-
I've had these Louis arm chairs forever. They are from Ethan Allen and have held up great! I couldn't be more pleased with the quality, I just don't like the fabric in this room.
Lately they have been moving around the house but ended up back here. I wanted to give them another good look before deciding if I want to invest the money to have them reupholstered or just go with something completely different.

This time around I placed them on either side of the coffee table instead of the pair sitting side by side on one side of the room. This set up works so much better for conversation. I notice we are sitting in them much more often now.
Artwork-
My family is not a fan of where I hung these framed botanical prints between the windows. I just popped them up there with removable velcro strips just for fun. What do you think?


Getting cozy-
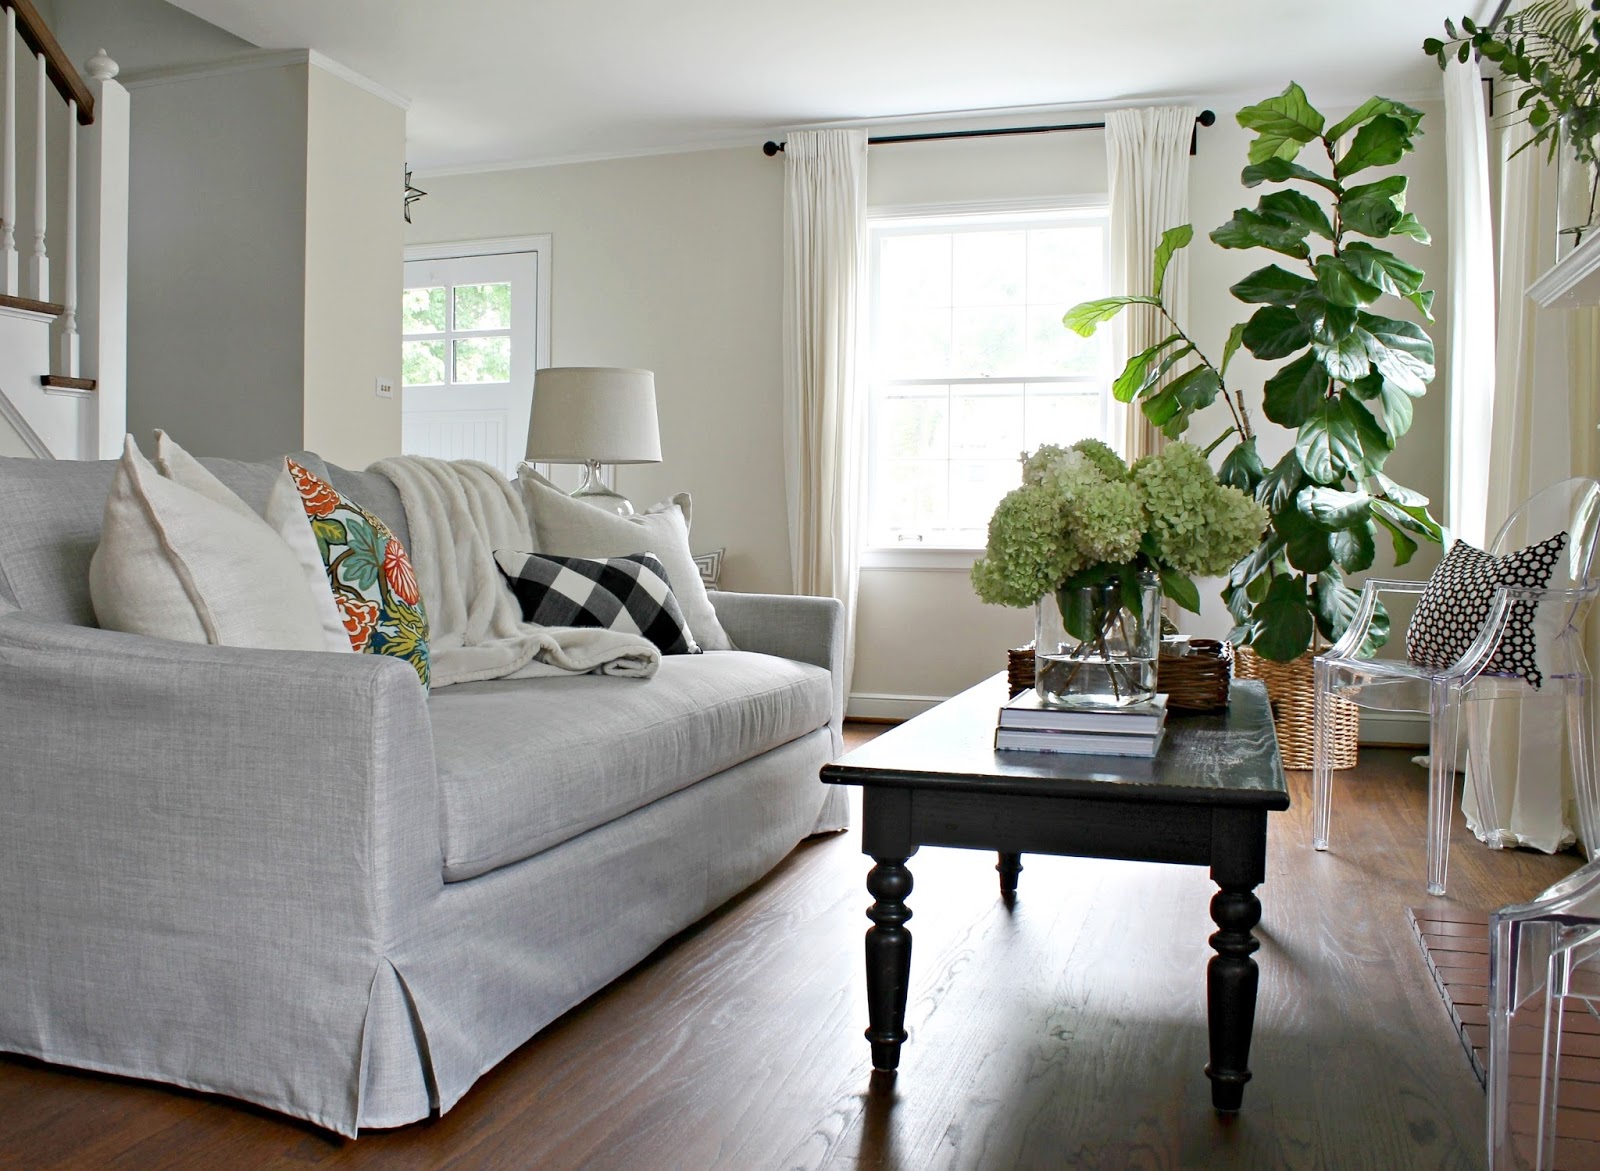
This room is all about rich dramatic colors and cozy textures. I added some faux fur pillows and a new chenille throw blanket for the chilly nights we are already having. The green and white hydrangea pillow cover is from Everyday Occasions. When I saw that pretty dark brown trim, I knew it would be perfect for this space.